bobspirko.ca | Home | Canada Trips | US Trips | Hiking | Snowshoeing | MAP | About

Bluerock Mountain
Kananaskis, Alberta
October 25, 2003
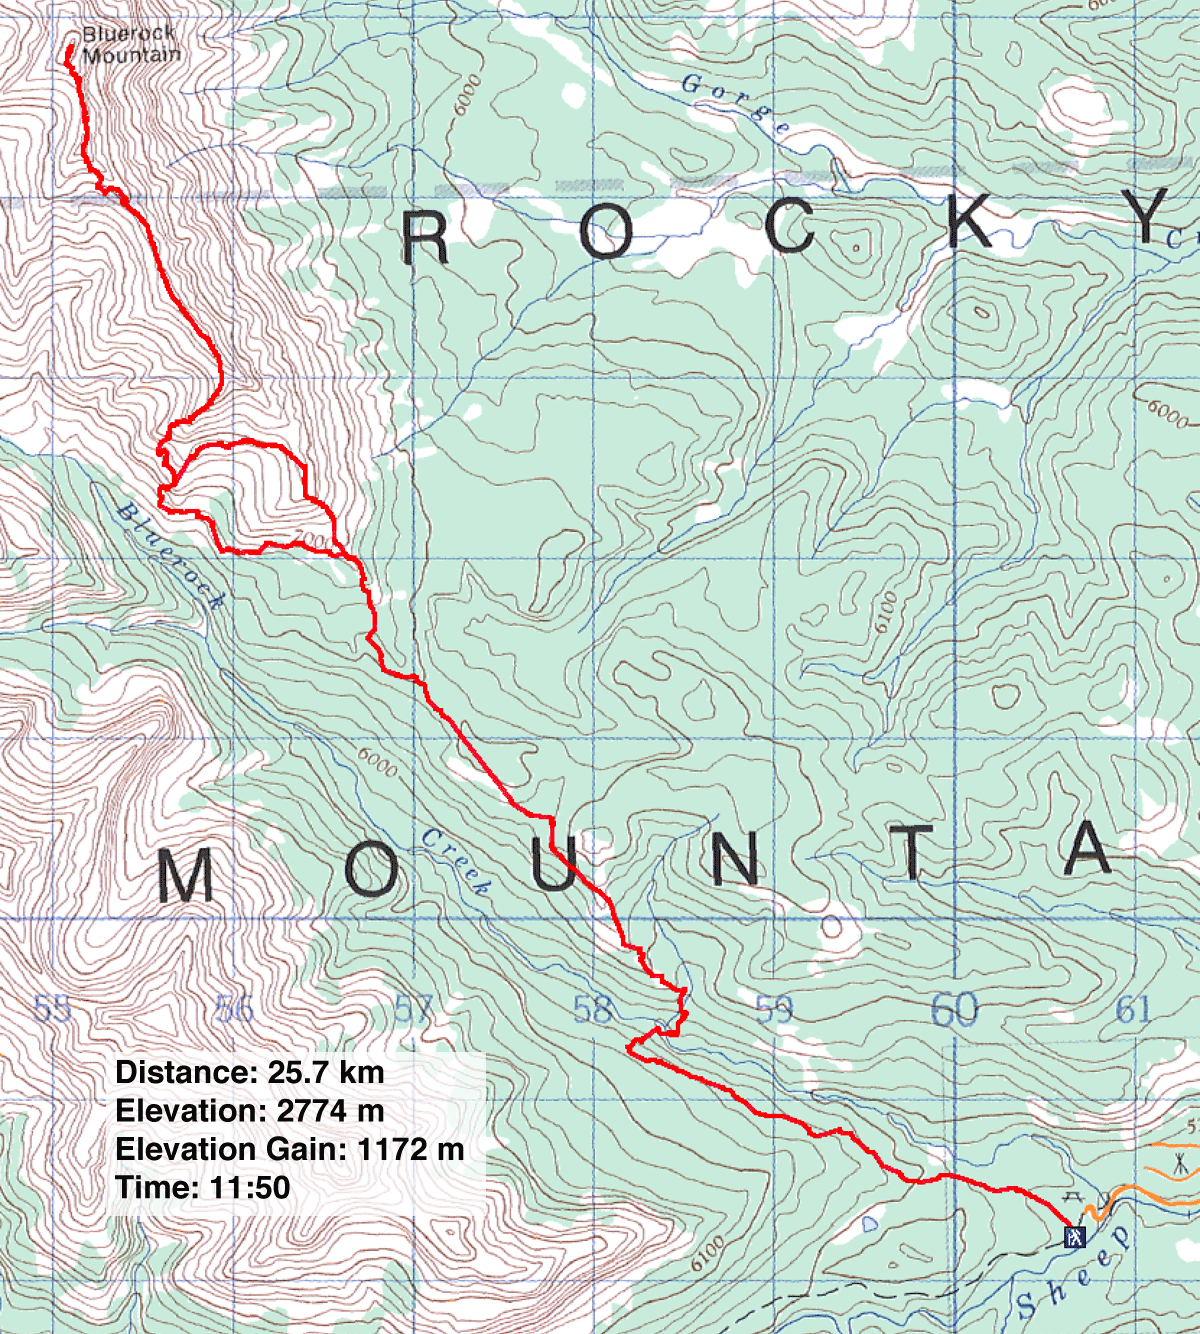
Bluerock Mountain makes for a long day, but it's a delightful ridgewalk with some scrambling. Following Gillean Daffern's description in the Kananaskis Country Trail Guide, Dinah and I hiked to Kiska Mnoga Iyarhe. Heeding her warning in the book – "Forget about climbing Bluerock Mountain from this end; it rebuffs all scramblers' attempts." – we didn't attempt the cliffs and instead dropped down the left side until we could get around them. This involved losing over 100 m of elevation. After I first posted my trip report, Gillean emailed me to say that it is possible to stay on the ridge and ascend a chimney. Undoubtedly this direct route would save a lot of time and effort.
In any event, once we regained the ridge we had no trouble following it to the summit. Coming back, we tried to save time by contouring below the cliffs instead of climbing back to the ridge below them. Even so, we barely made it back on the trail in time to put on our headlamps before nightfall. The days are awfully short at the end of October.
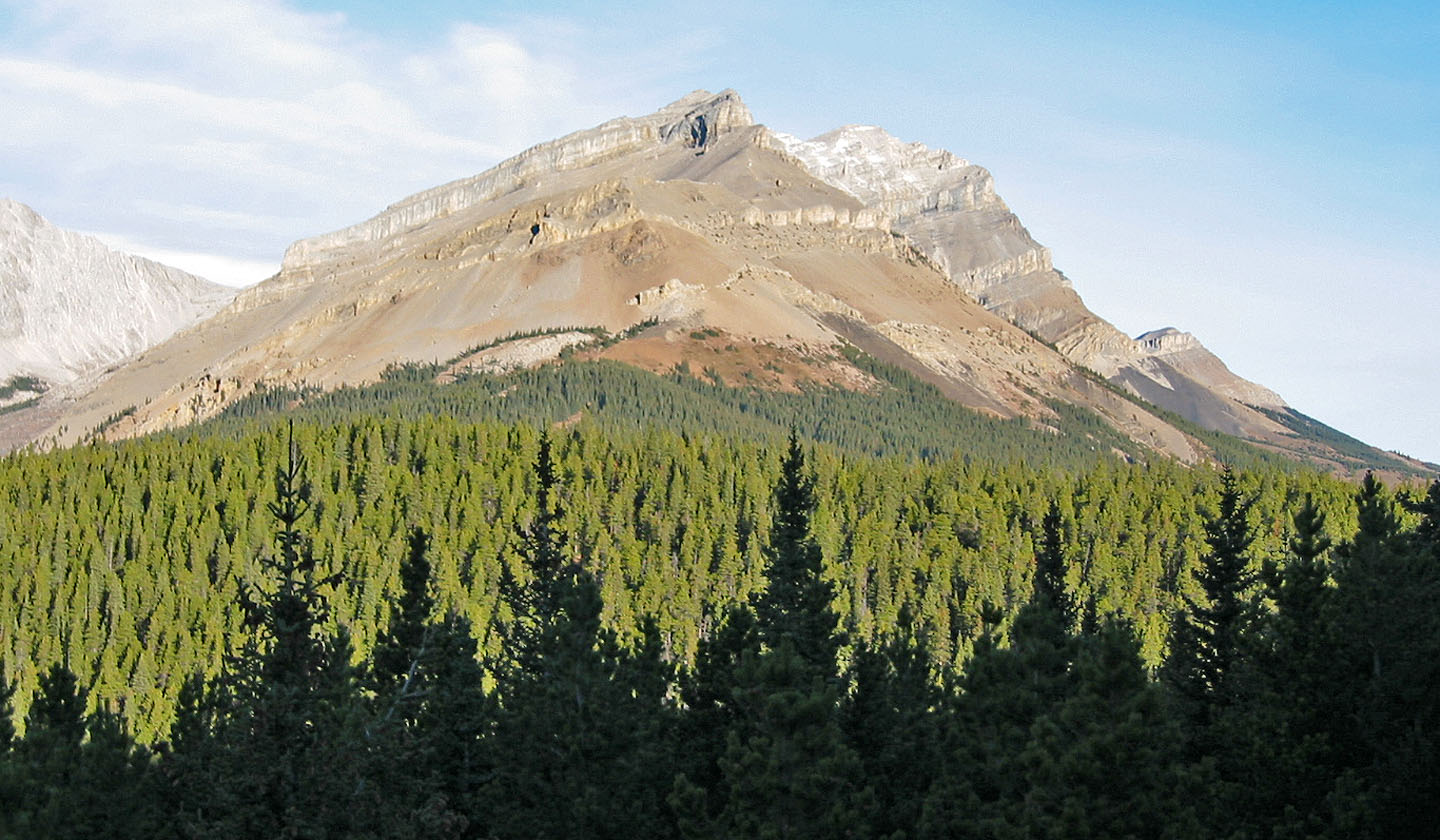
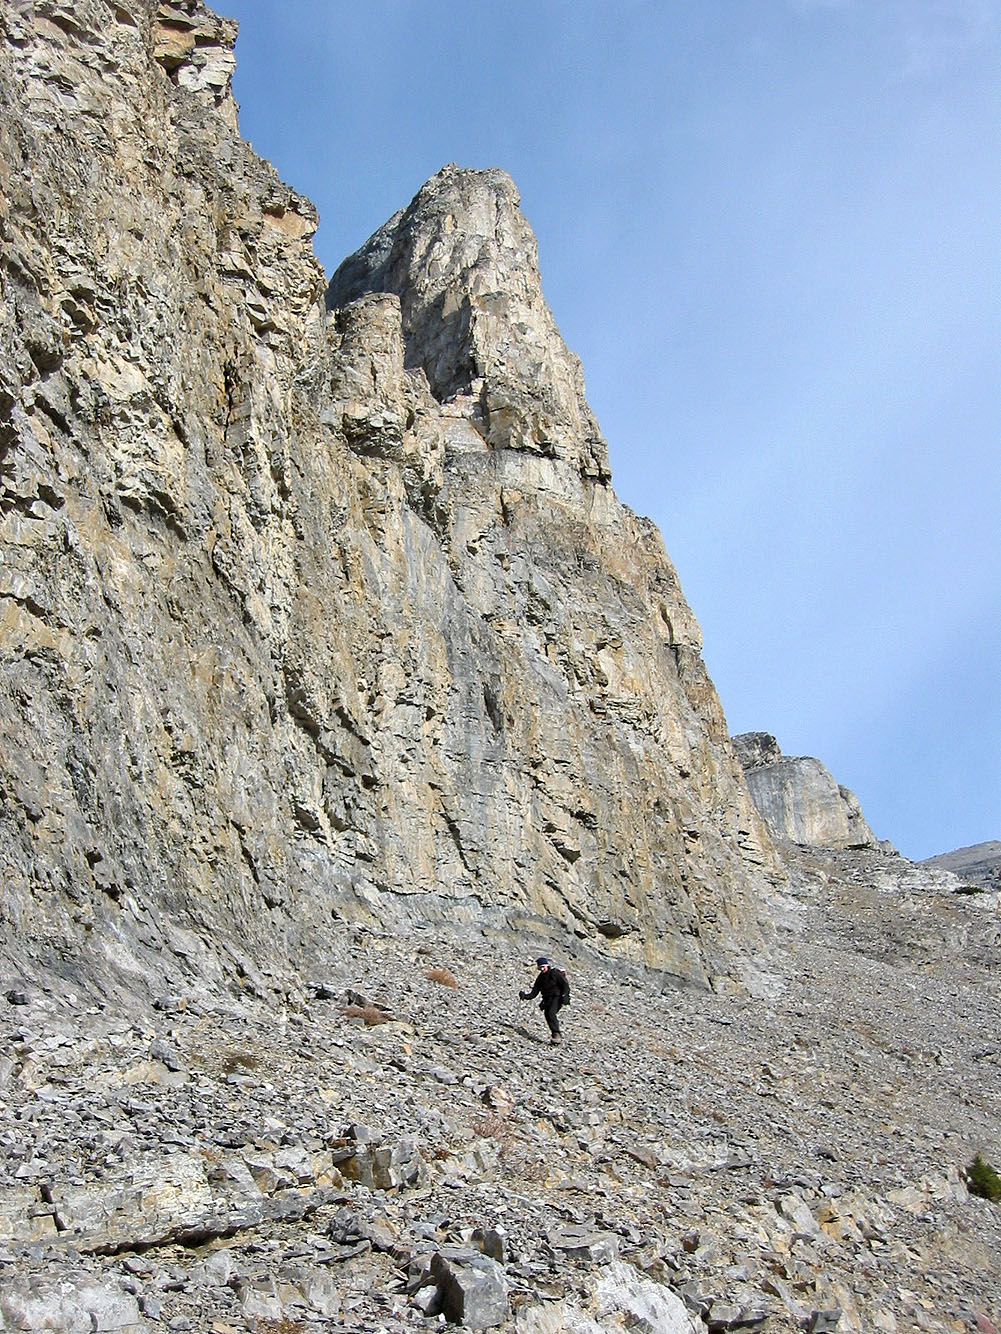
The south end of Bluerock Mountain seen from along the trail. Note the cliff band on the left side.
We circumvented it by going around the left end. The summit lies in the
background.
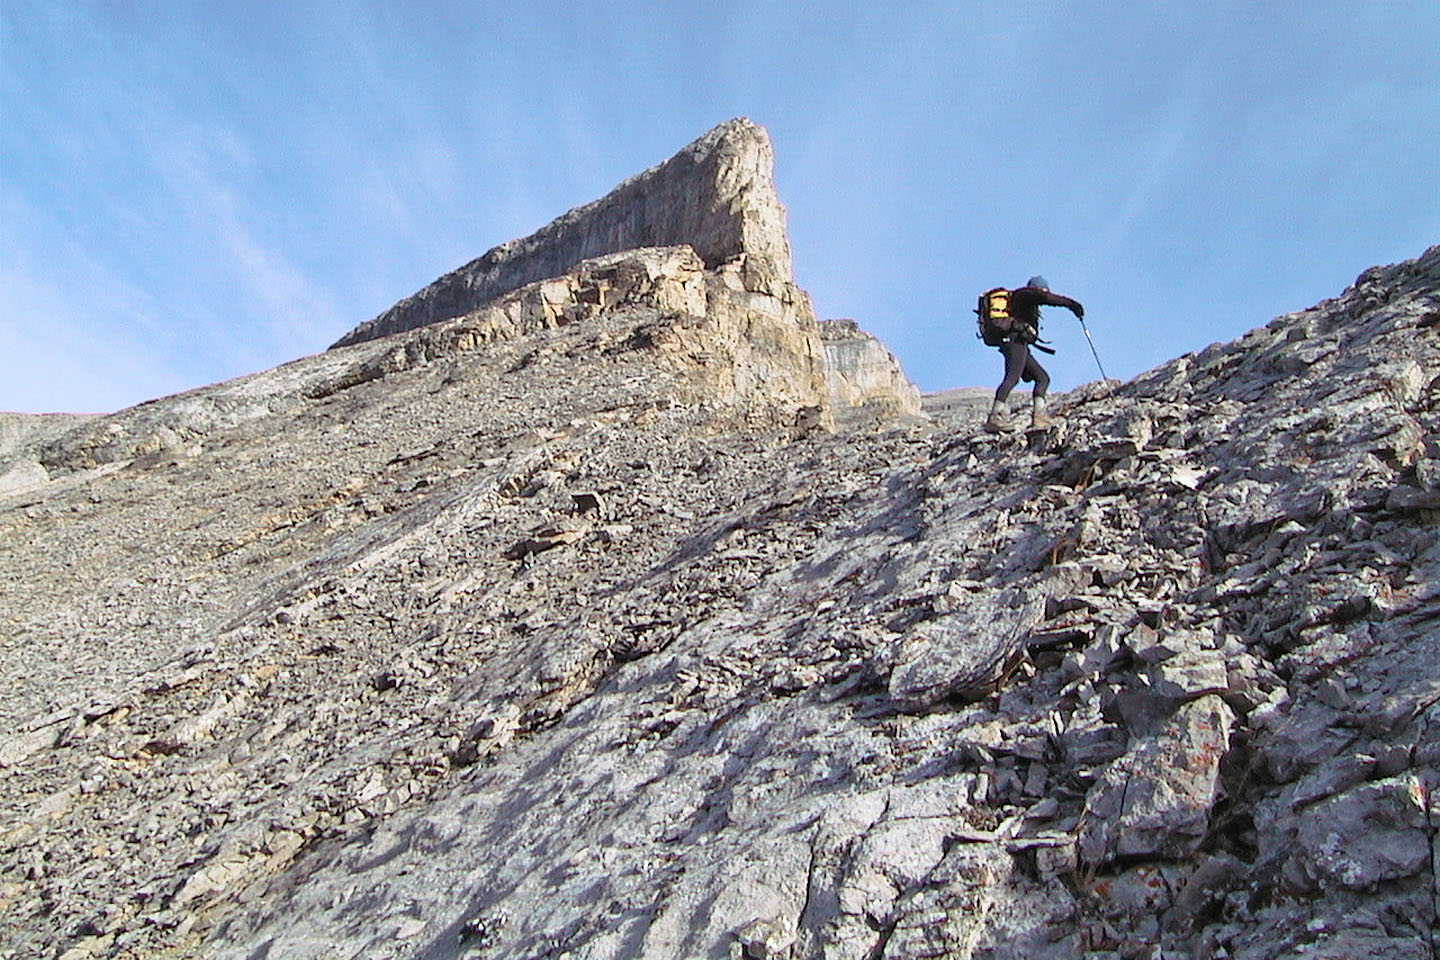
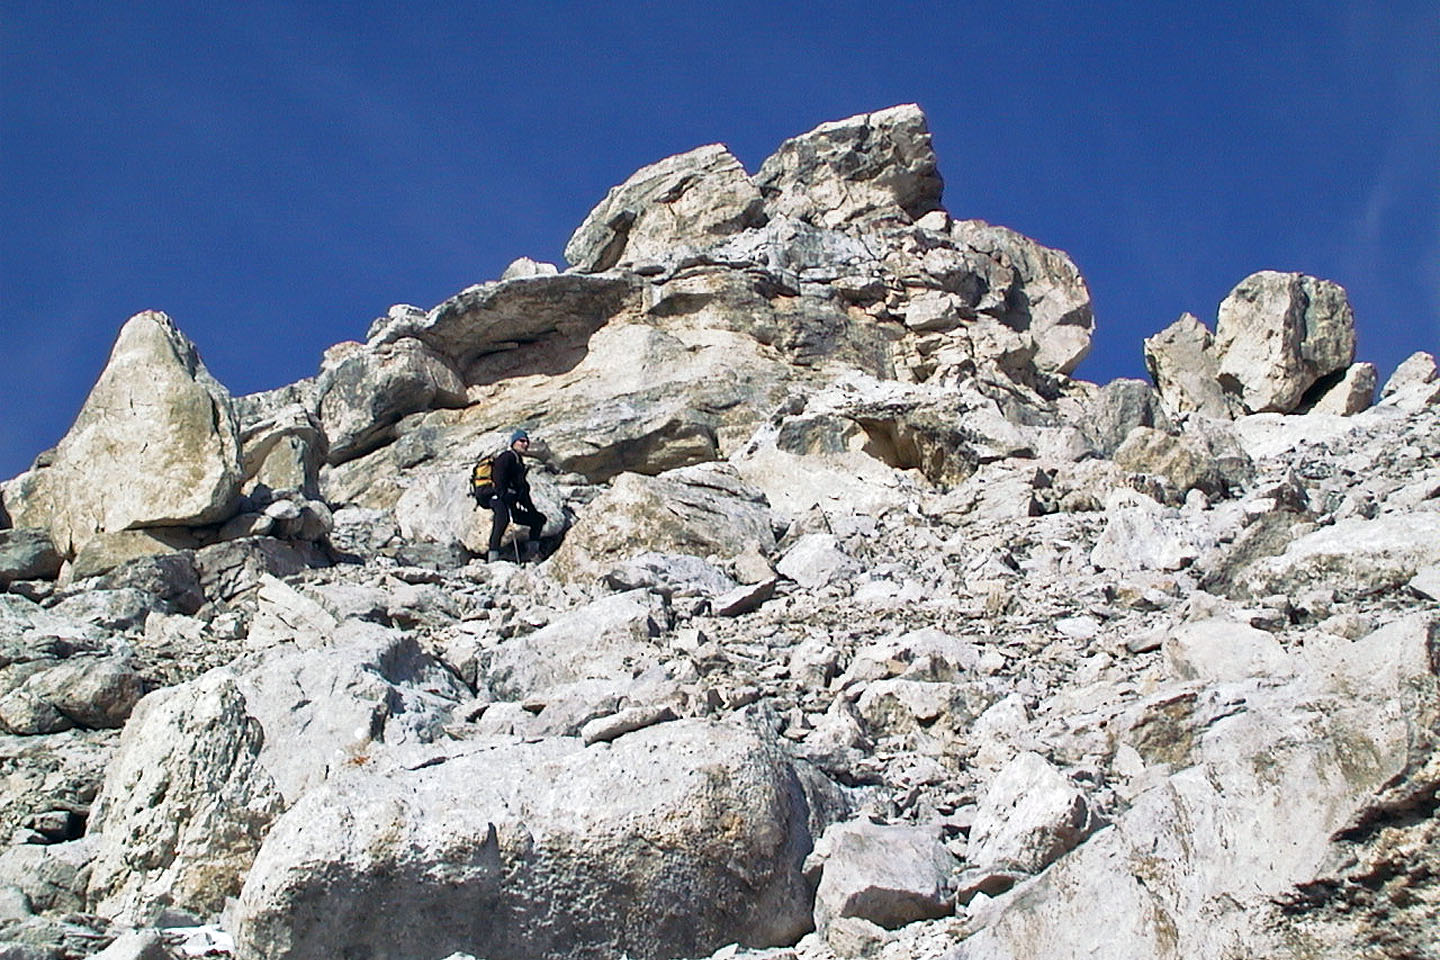
Starting up

We scrambled up this gully
Looking back. The half-bare point on the ridge is Bluerock Knob.
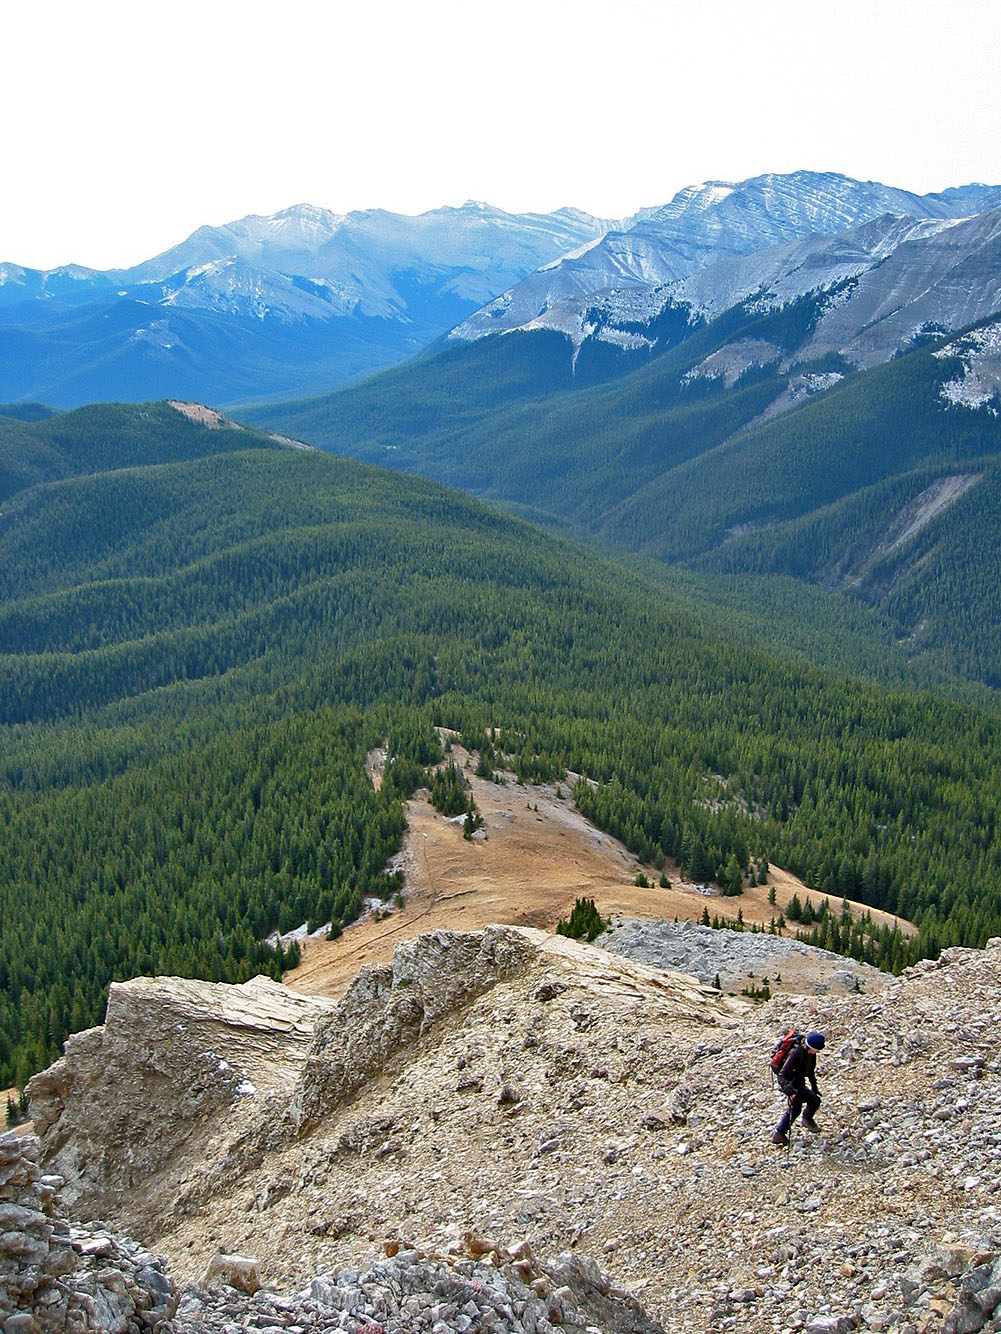
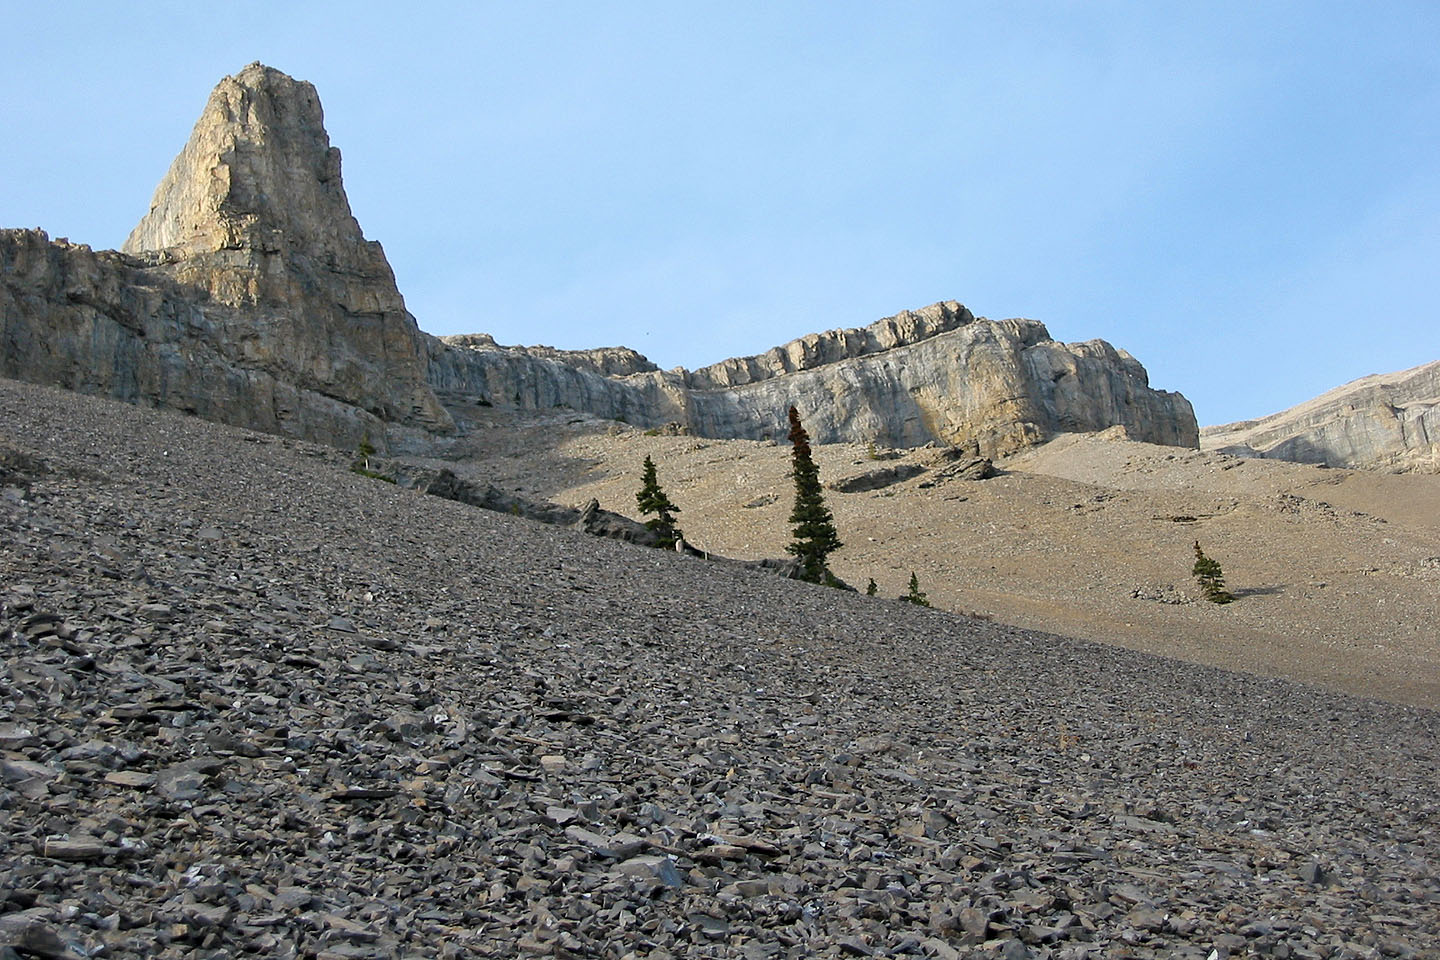
On top of the shale basin: this is the scene that greets you after reaching
the high point above the bench. The cliff extends to the left and down, and that's where we headed from here.
Descending along the base of the cliff band
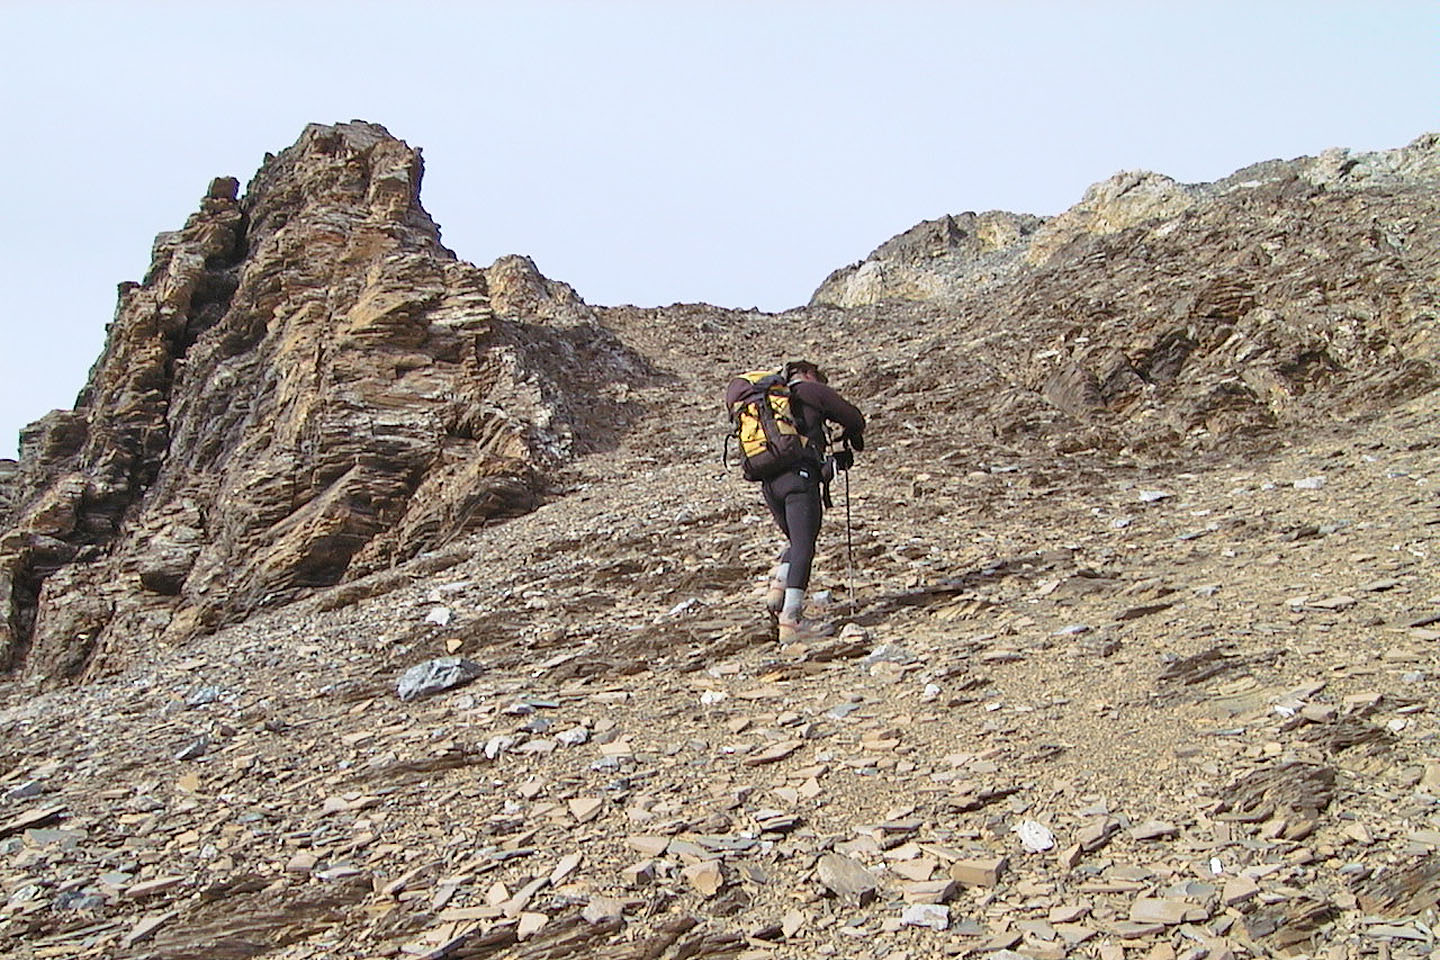
Around the end of the cliff band: we traversed left amid steep scree and
slabs staying below short cliff bands. The horizontal curve of the slope
limited views and made routefinding tricky.
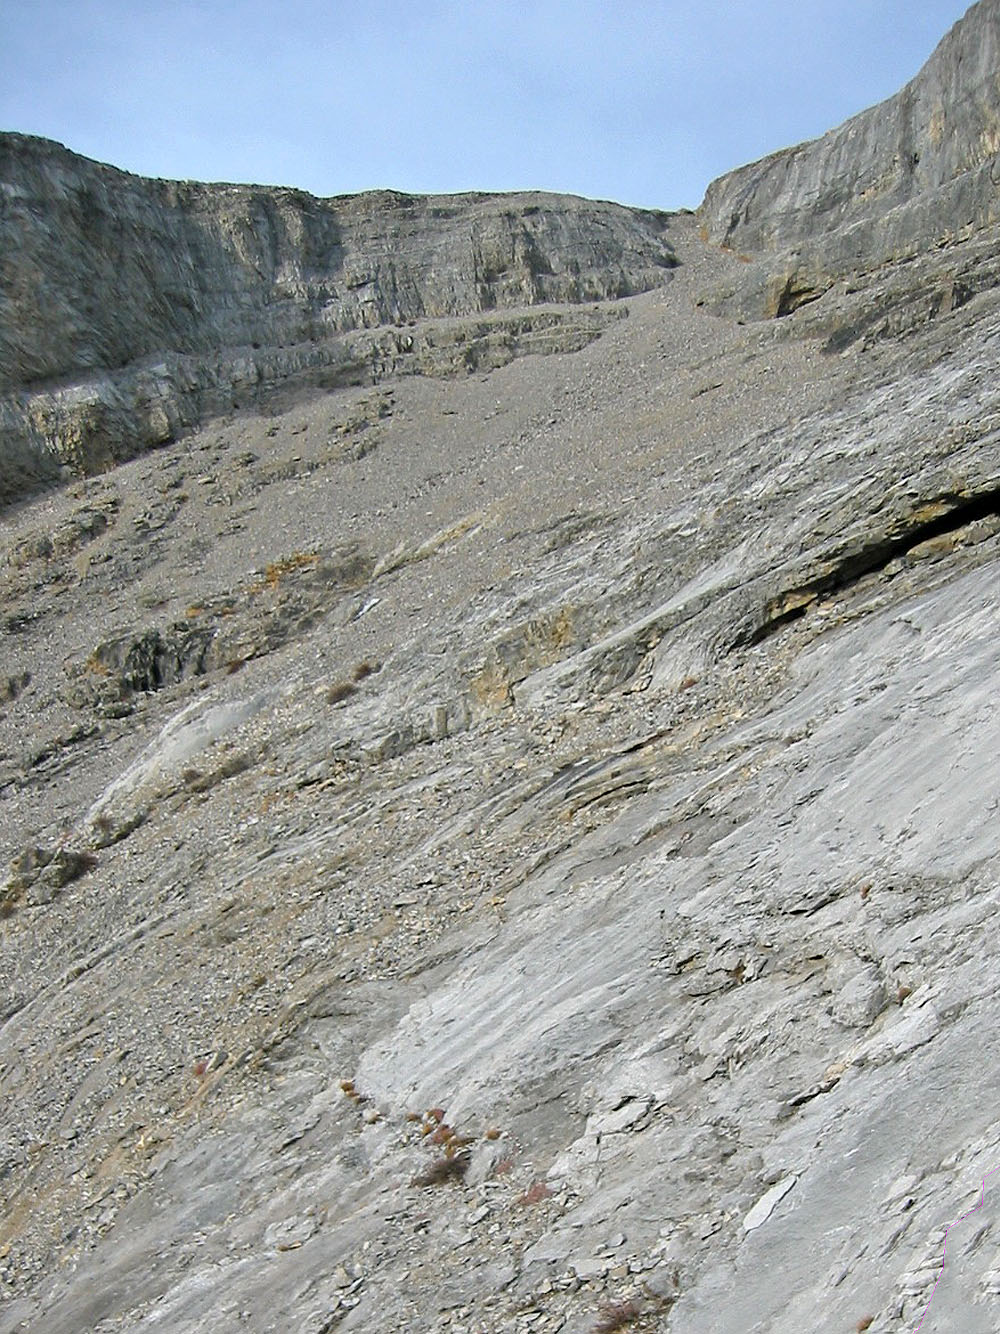
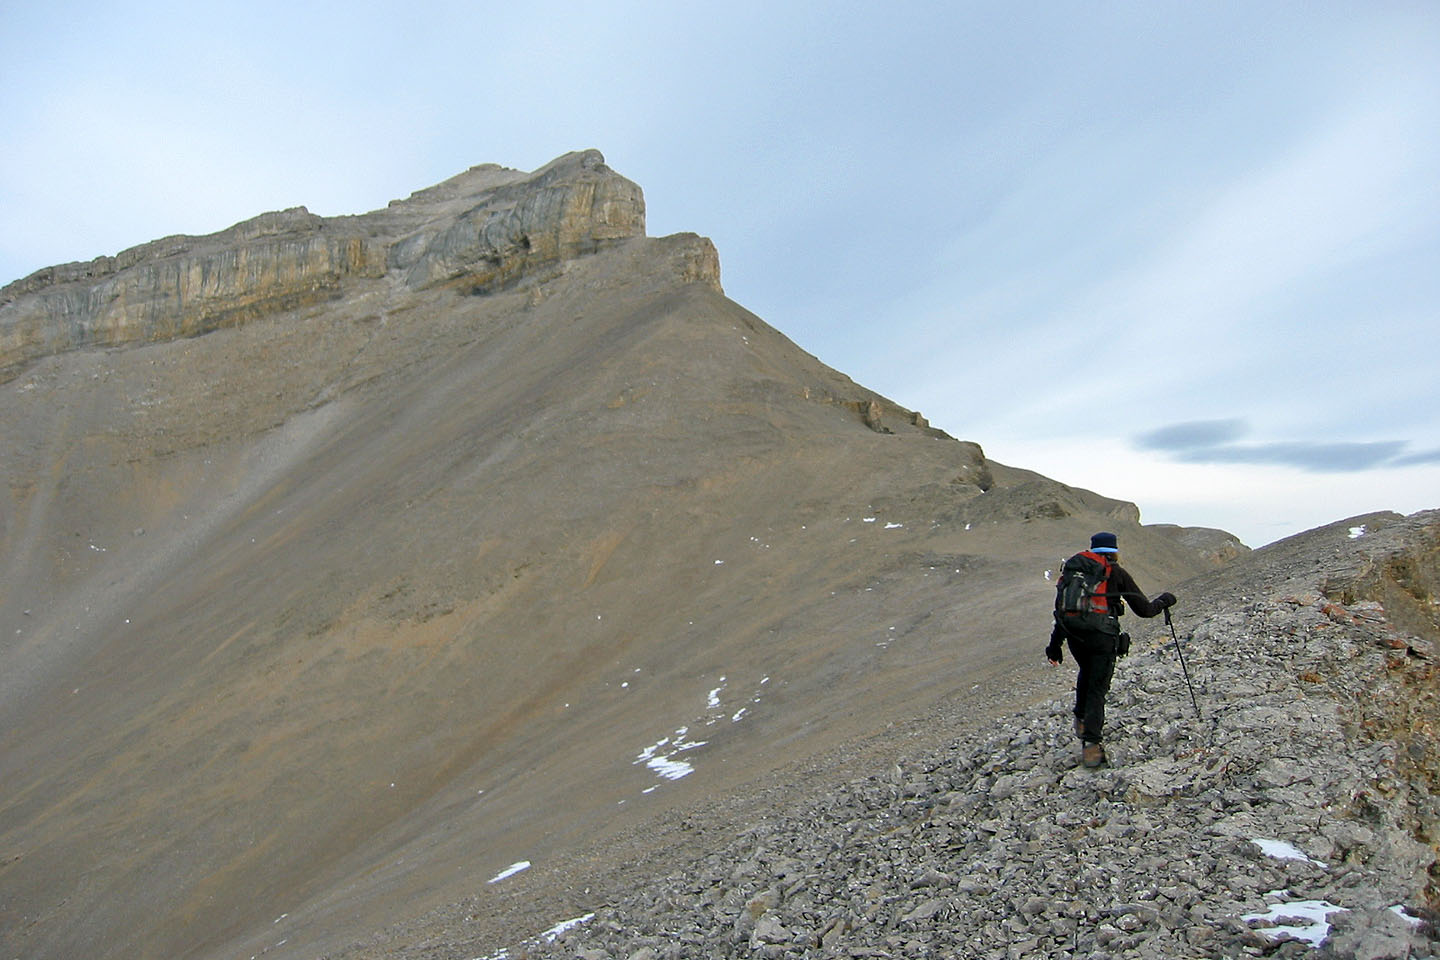
The way to the ridgetop becomes clear. We traversed until we reached
the bottom of the scree leading to a break in the cliff band.
Crossing the slabs
After climbing up the break, we reached the ridge going around a
horseshoe-shaped basin. We followed the ridge up to the high point.
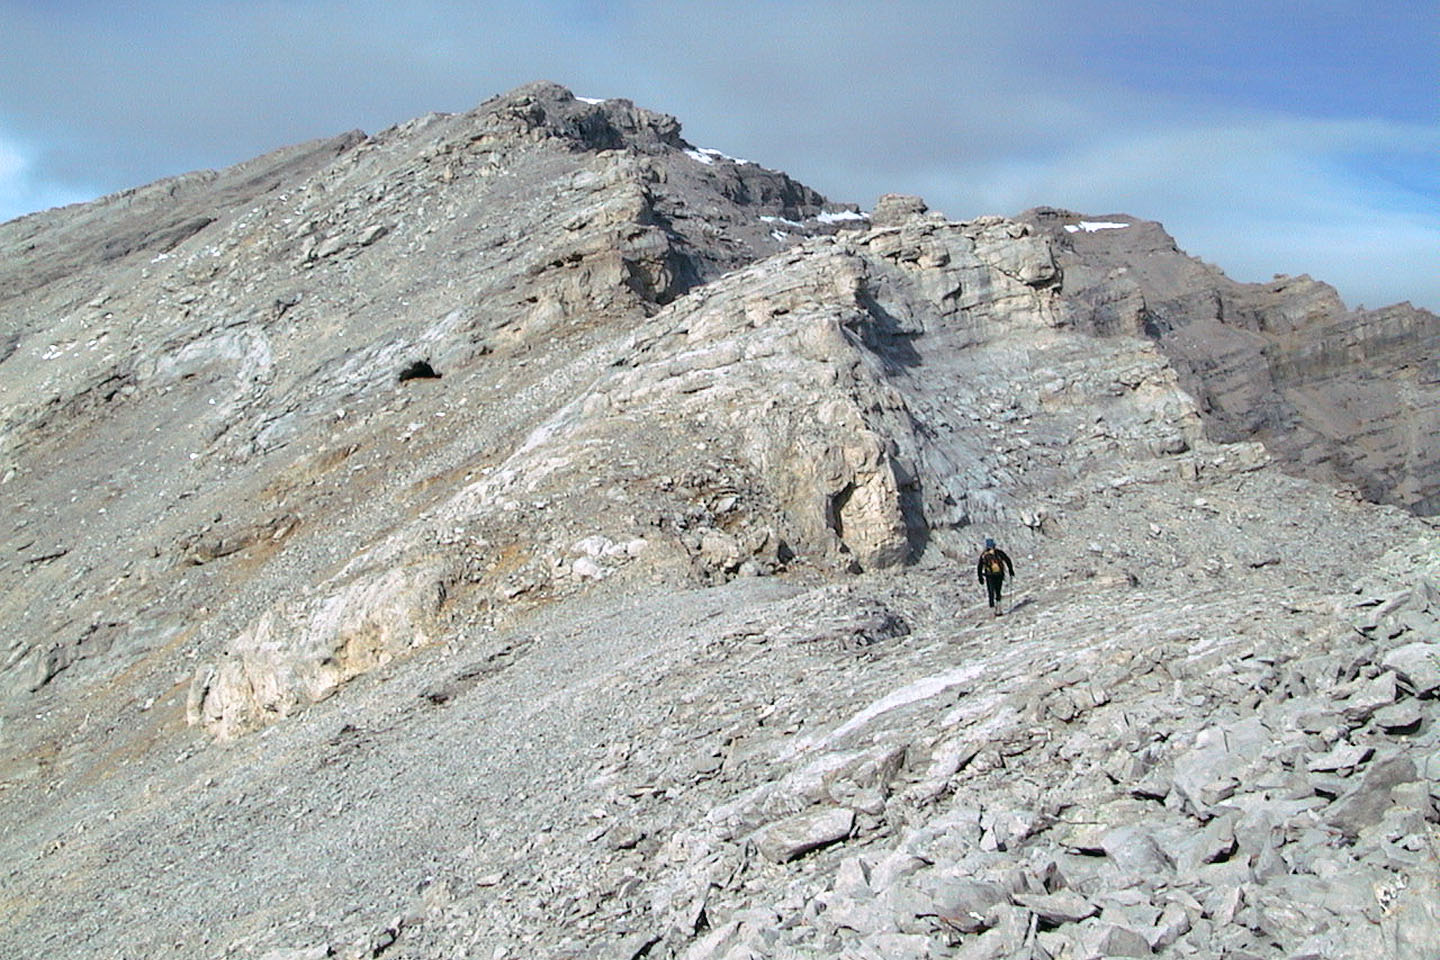
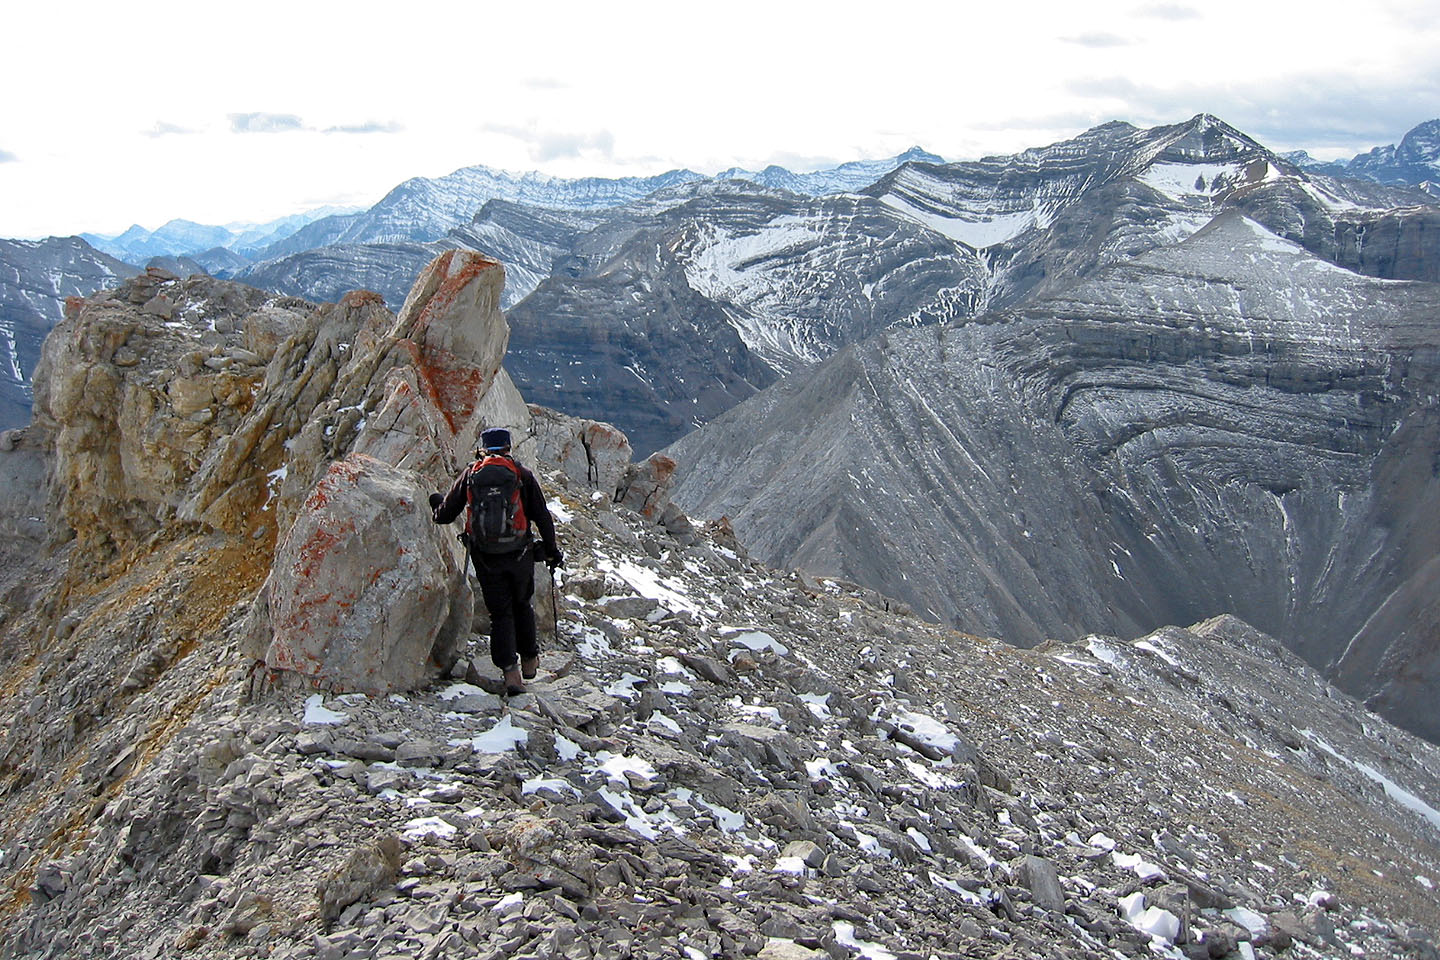
Finally back on the ridge

Looking back along the ridge
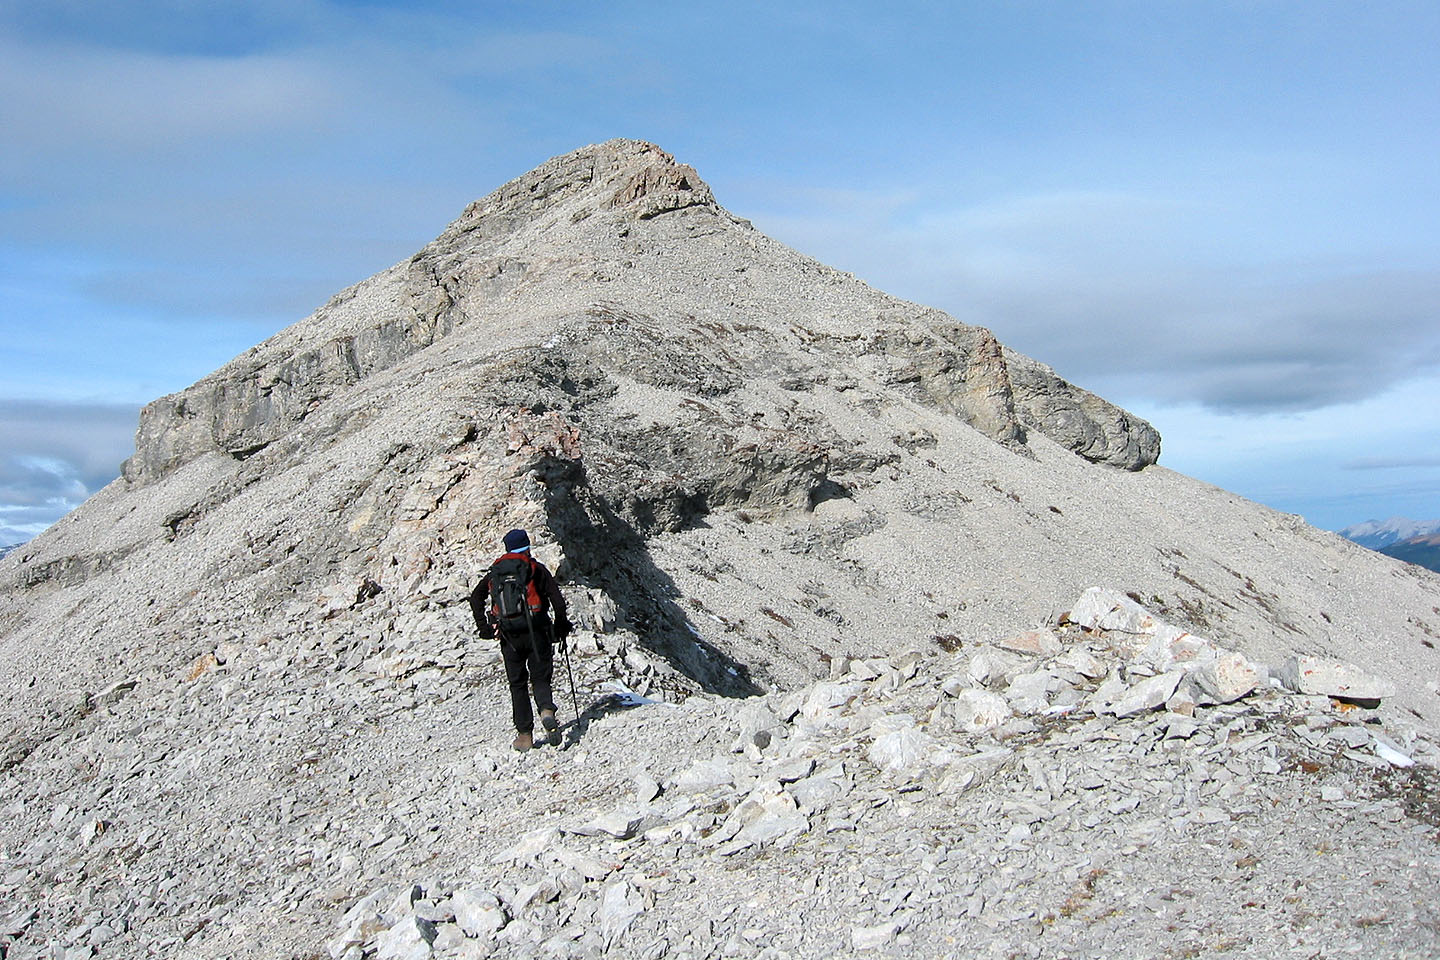
We followed the ridge, mostly a hike until we reached this point.
Note the crescent-shaped cave
on the left. The summit is still far away, well in the background above me.
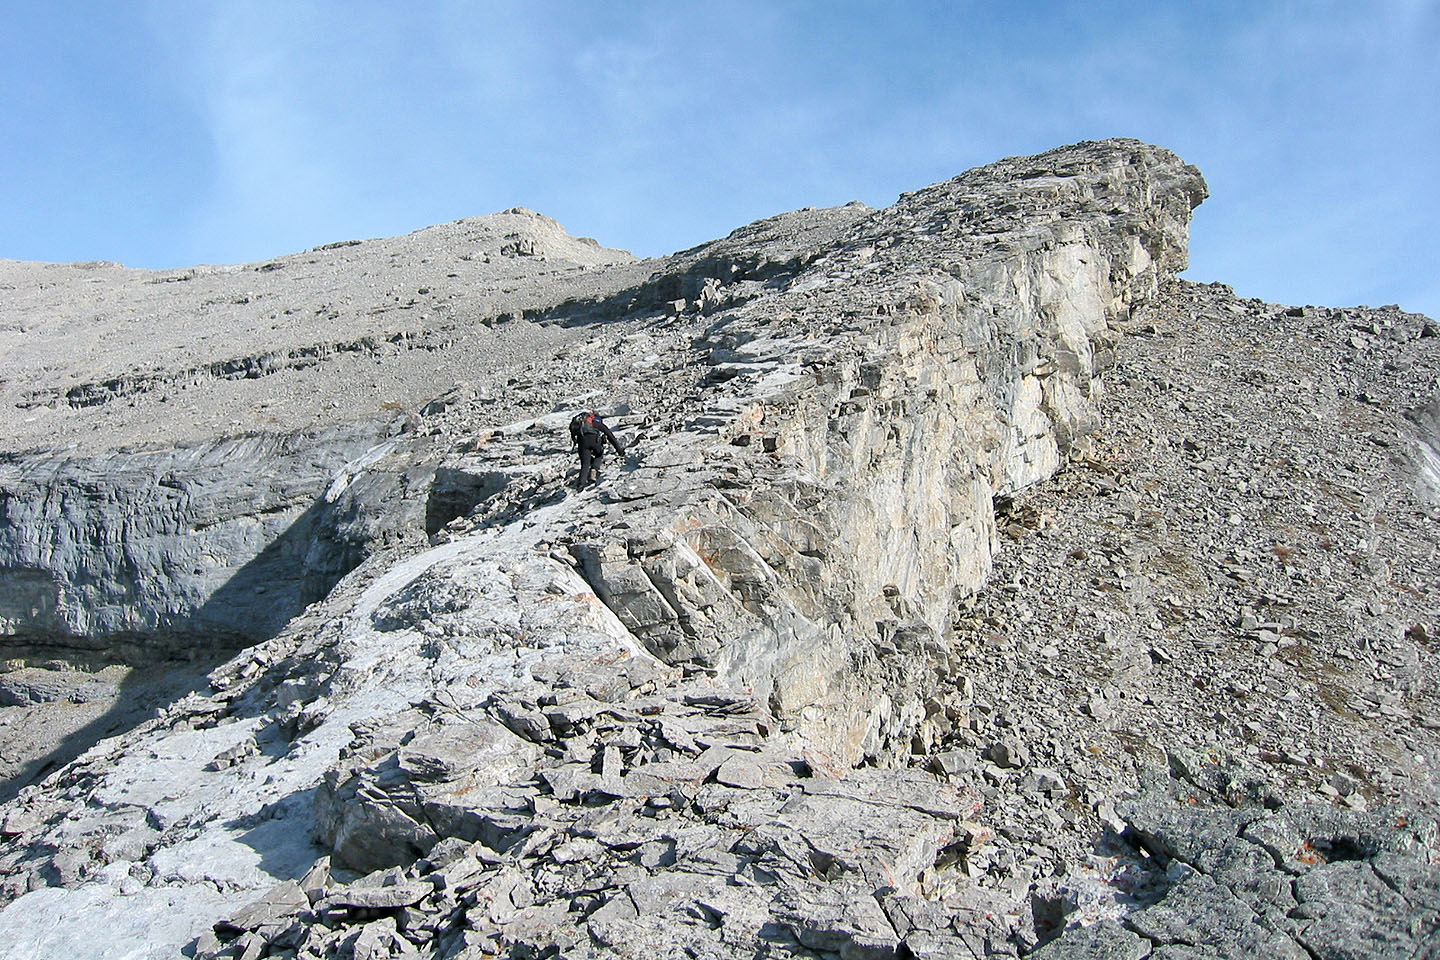
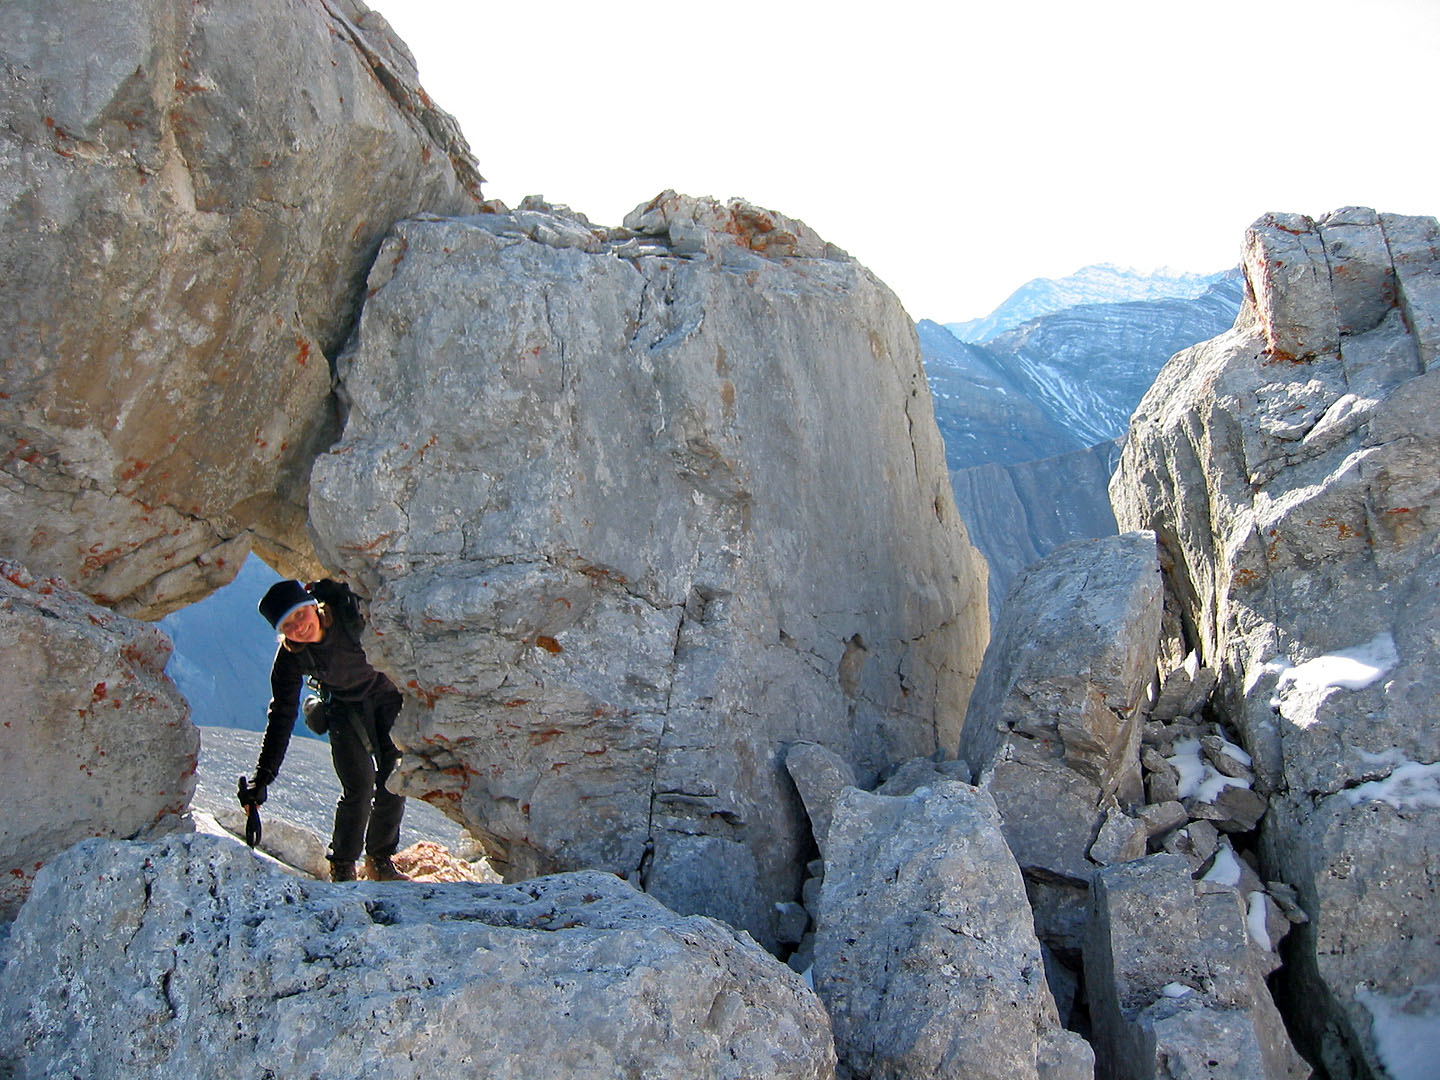
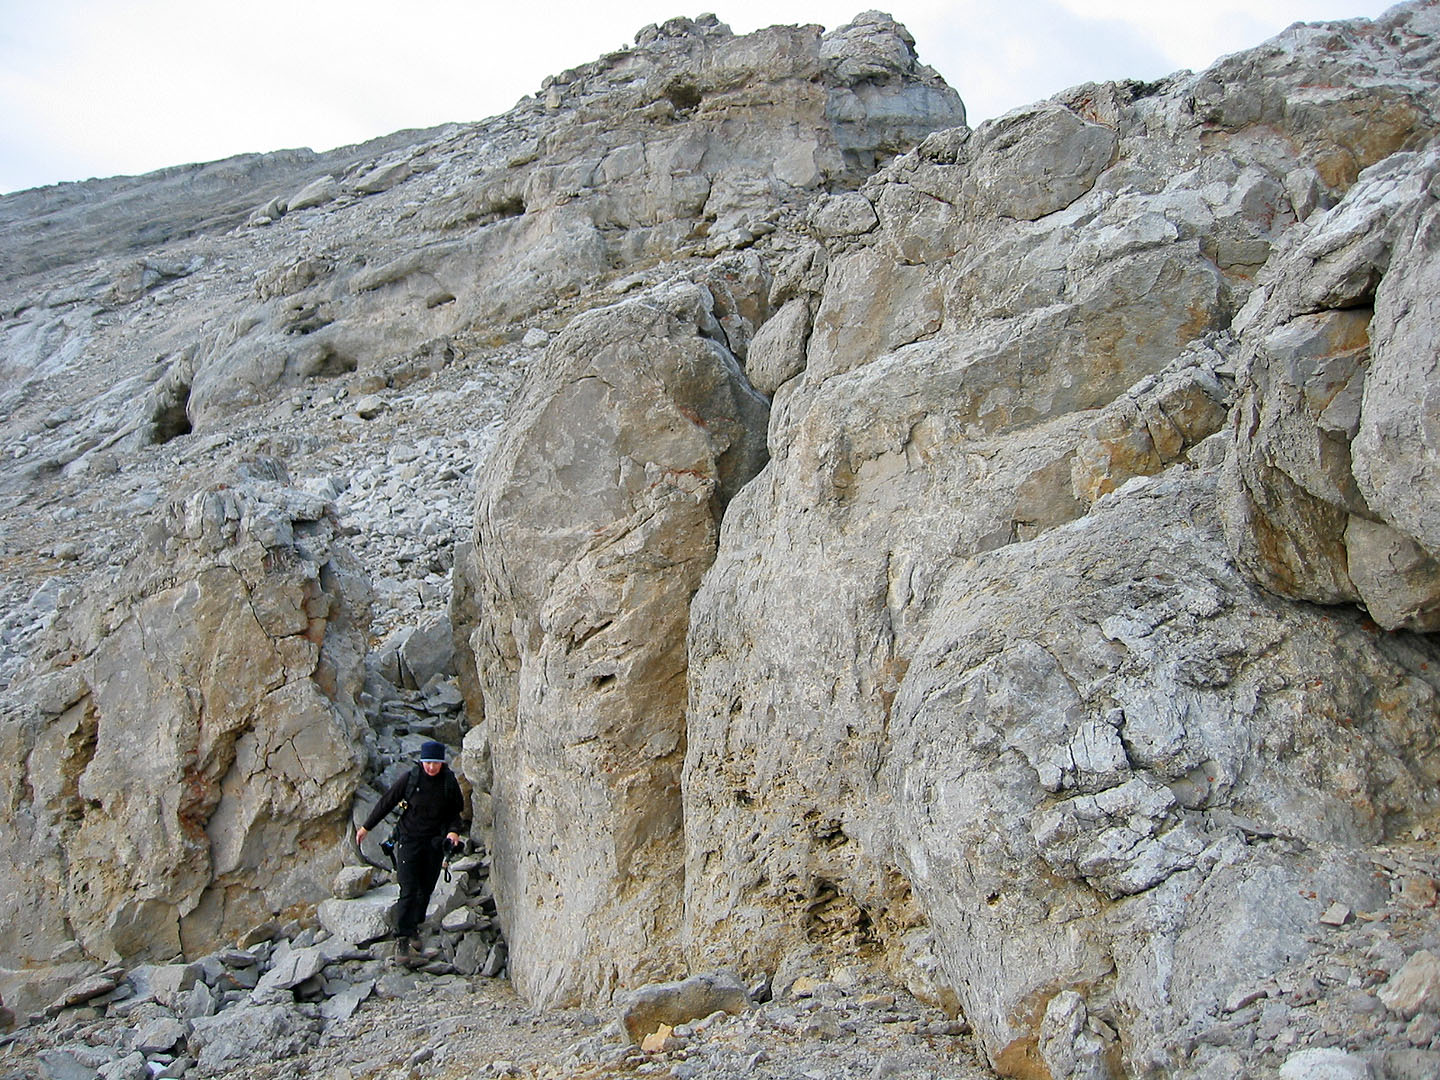
Scrambling up a short pitch
Checking out some boulders

Looking back at the boulders as we approached the cave
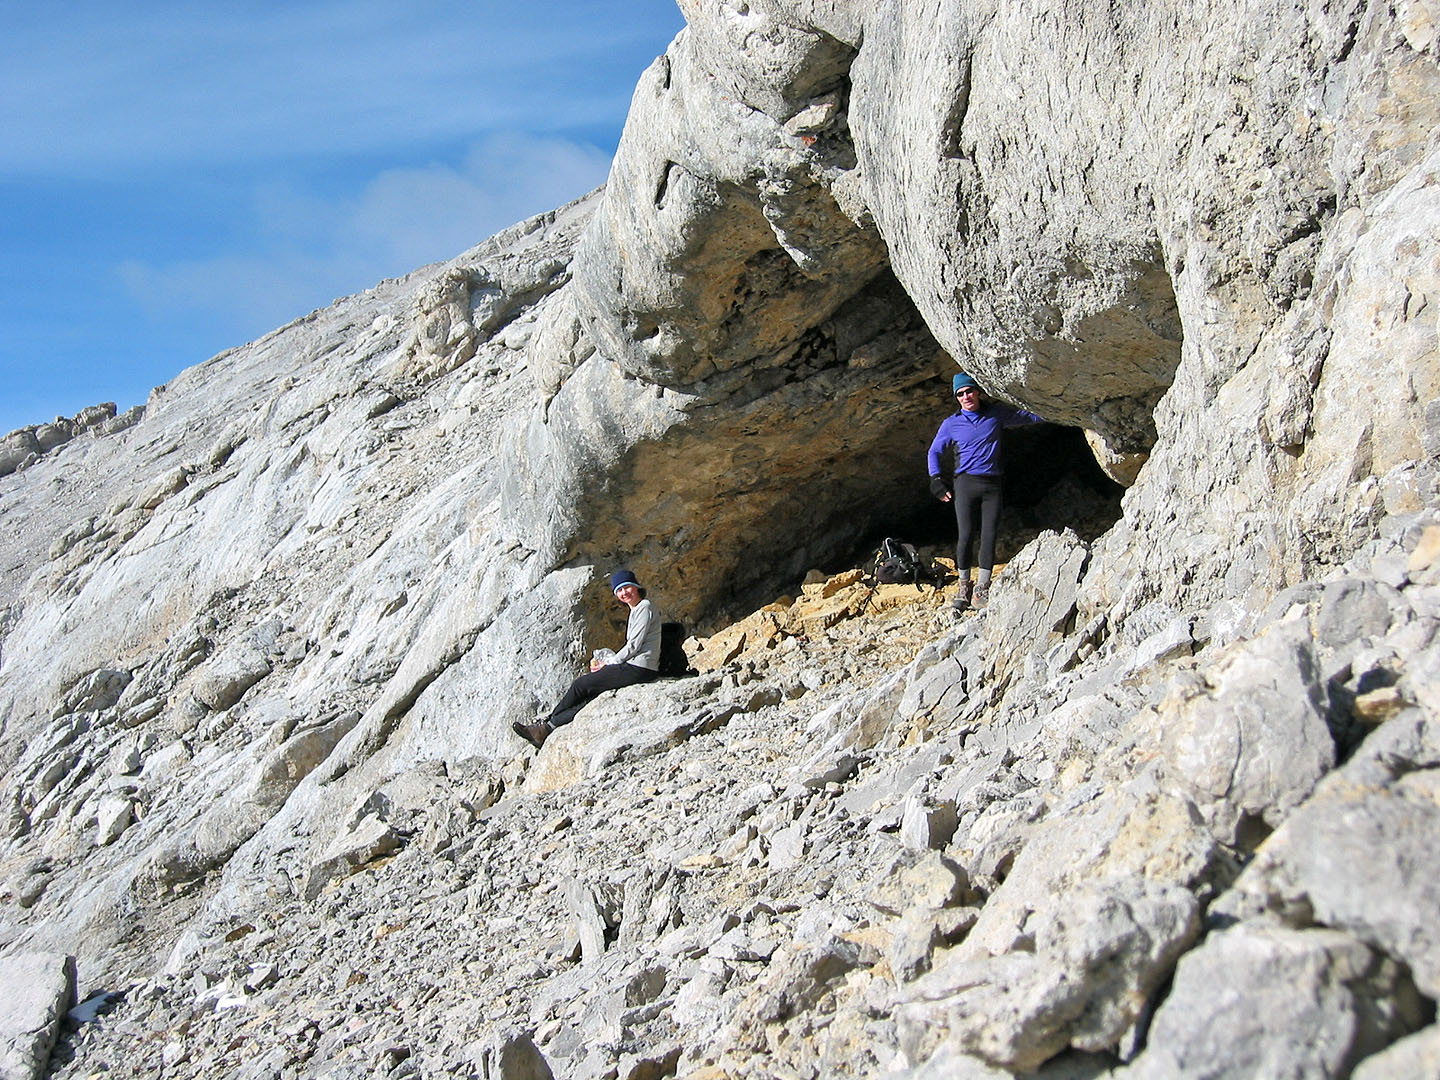
At the cave (mouse over to see the view of the ridge from inside the cave)
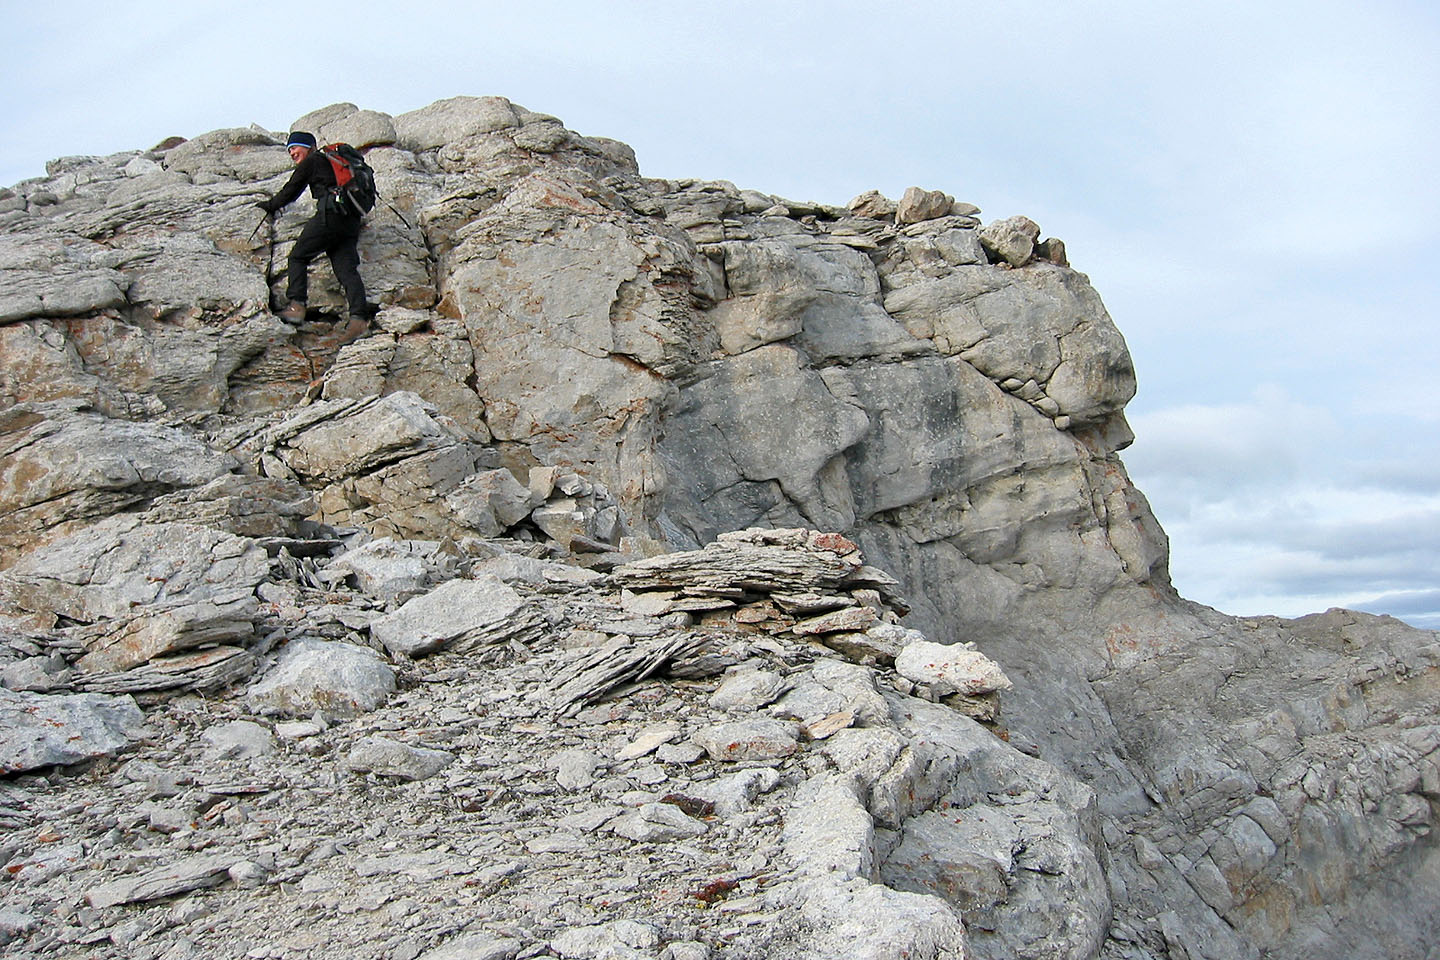
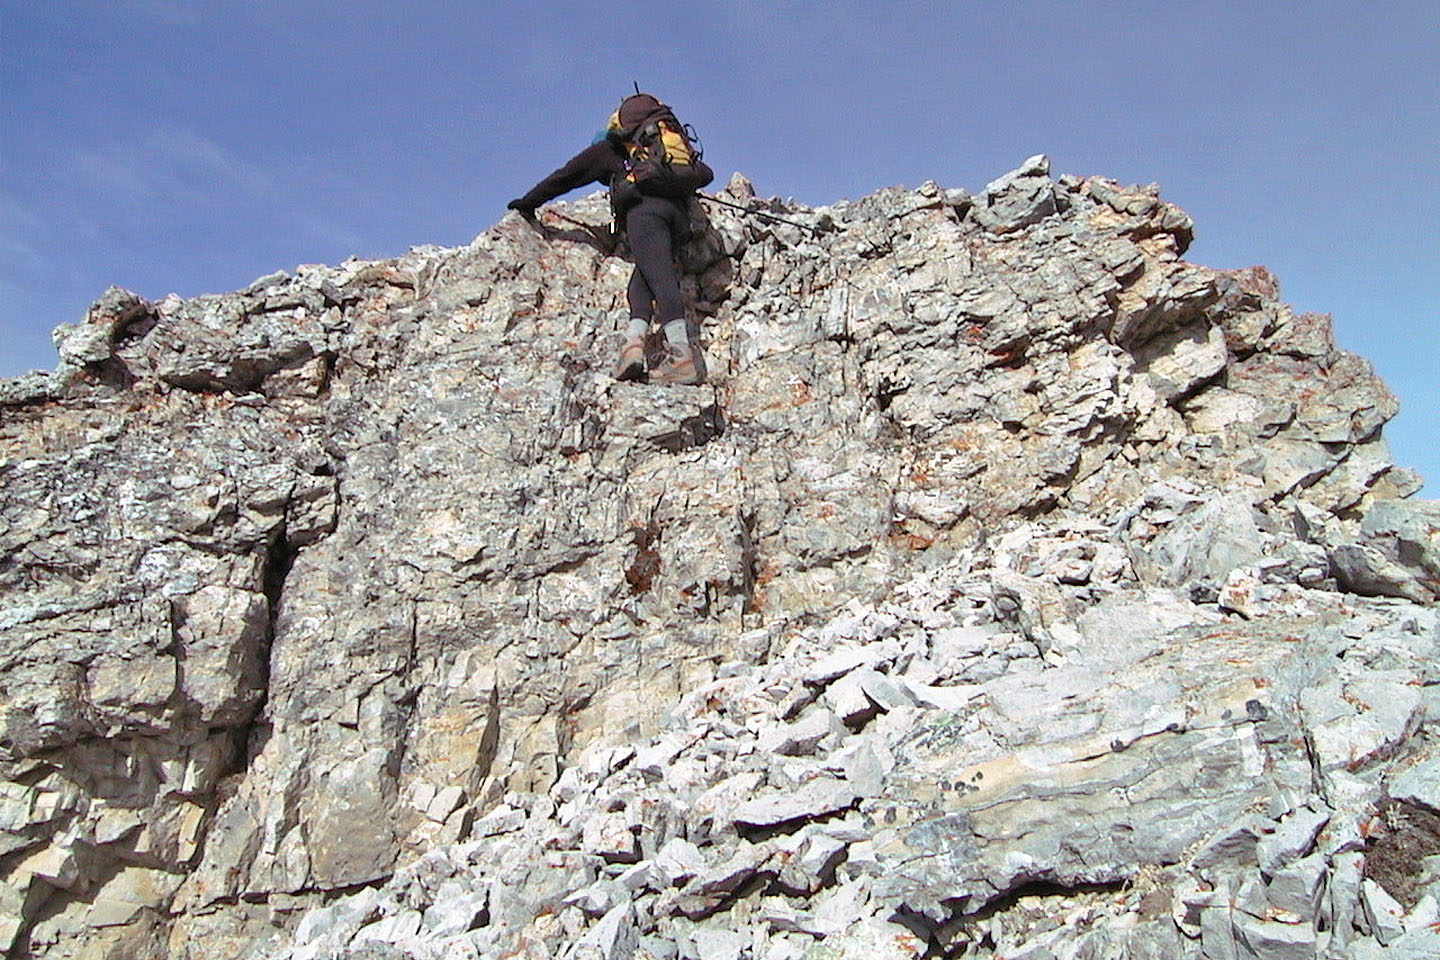
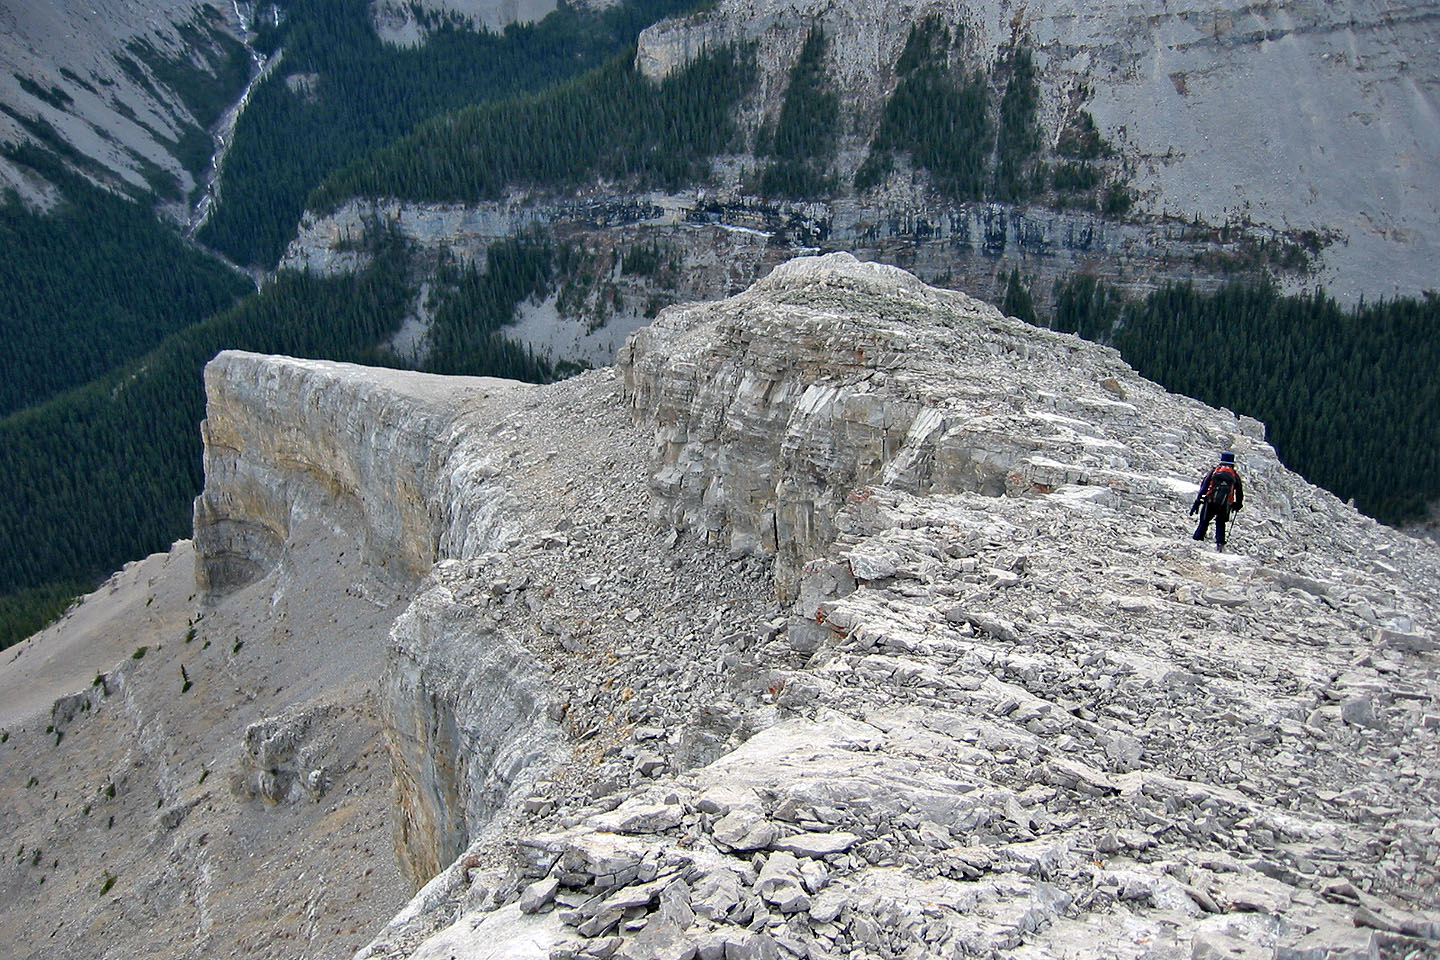
Some easy scrambling before the summit
Some routefinding too!

Dinah comes to join me on the summit
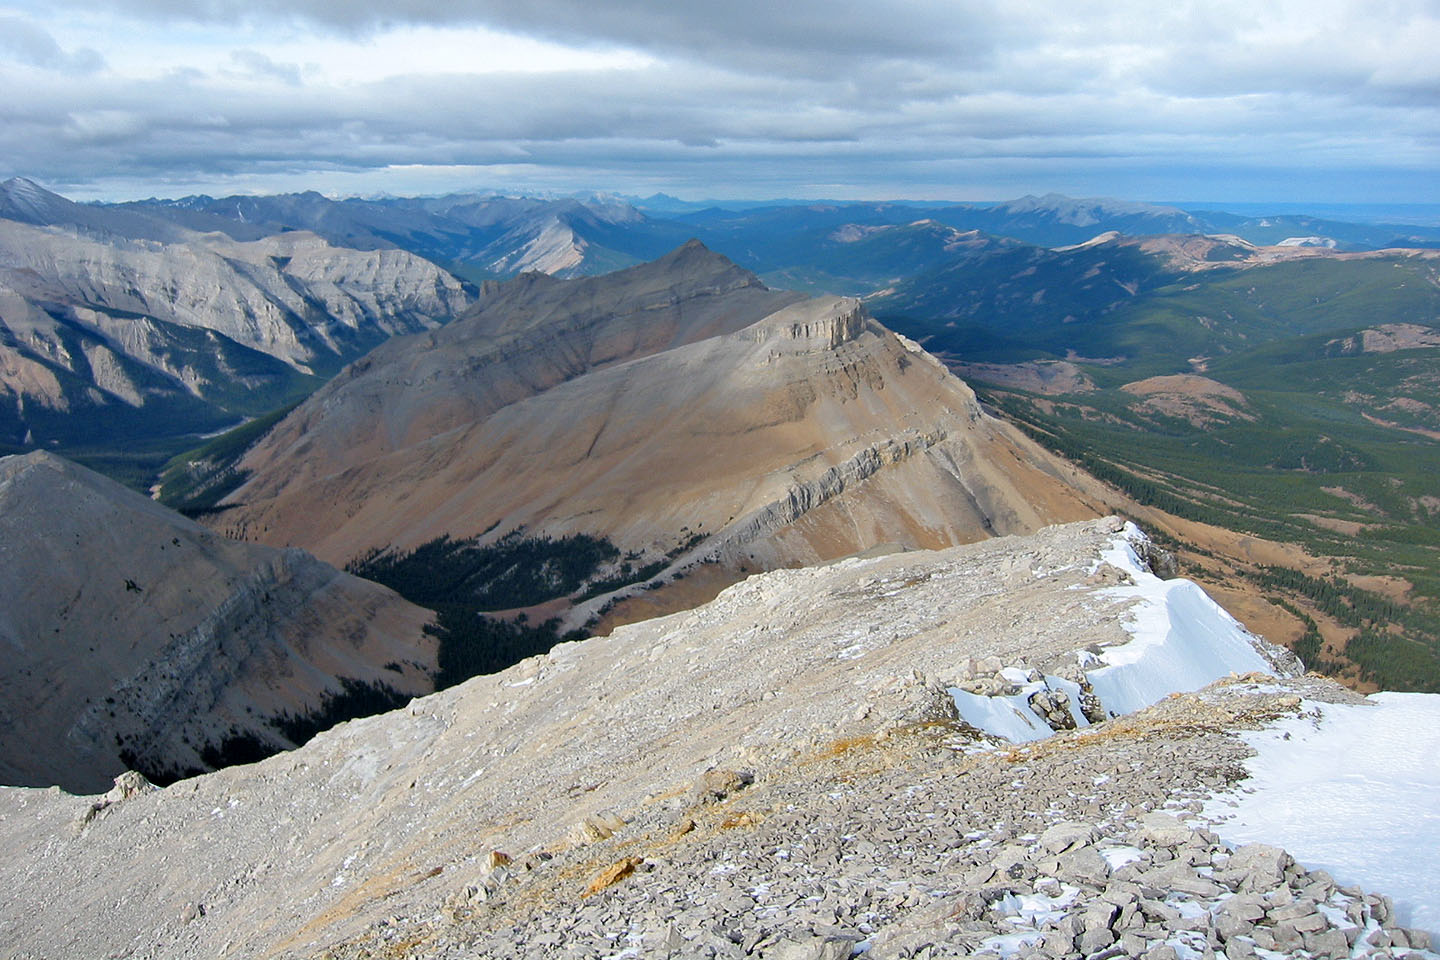
Threepoint Mountain and Mount Rose in the centre
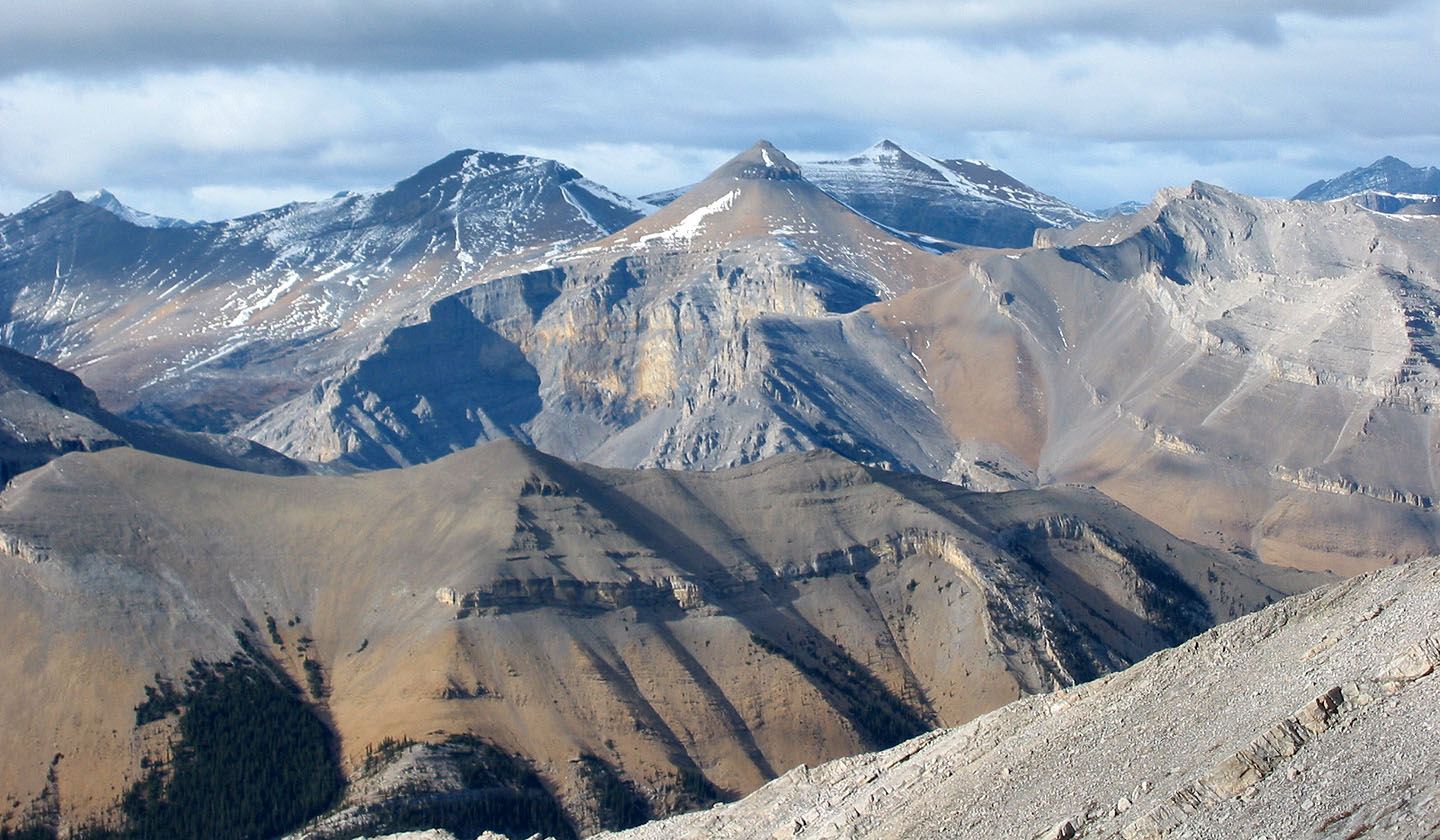
Banded Peak in the centre
Heading down from the summit
Negotiating rocks below the summit
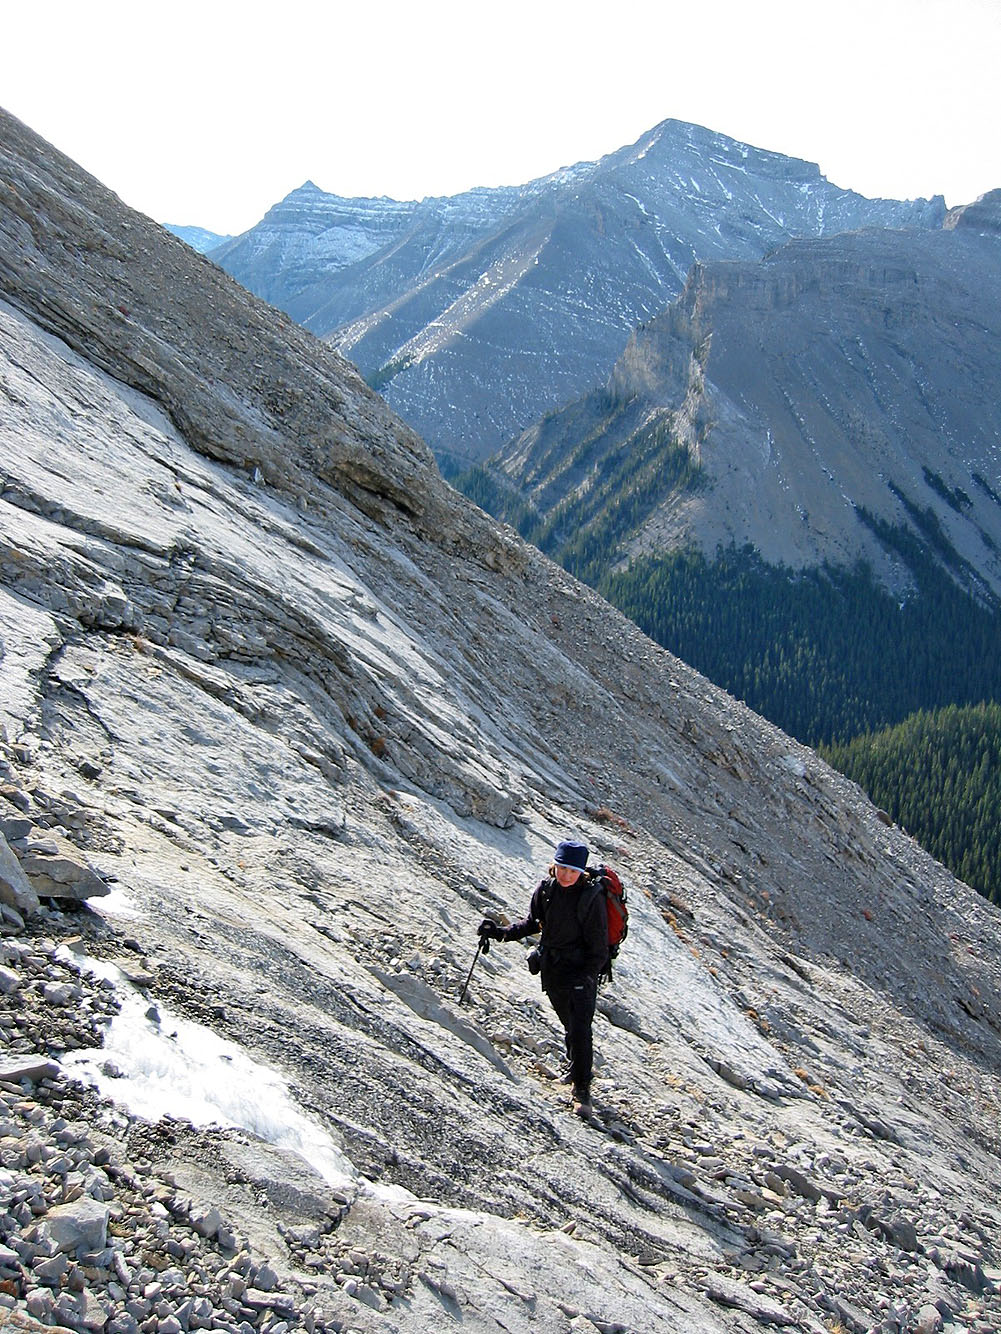
Back above the cliff band
Bottom of the shale basin: Instead of climbing back up we kept right and traversed below the ridge
Our traverse took us by some interesting rocks

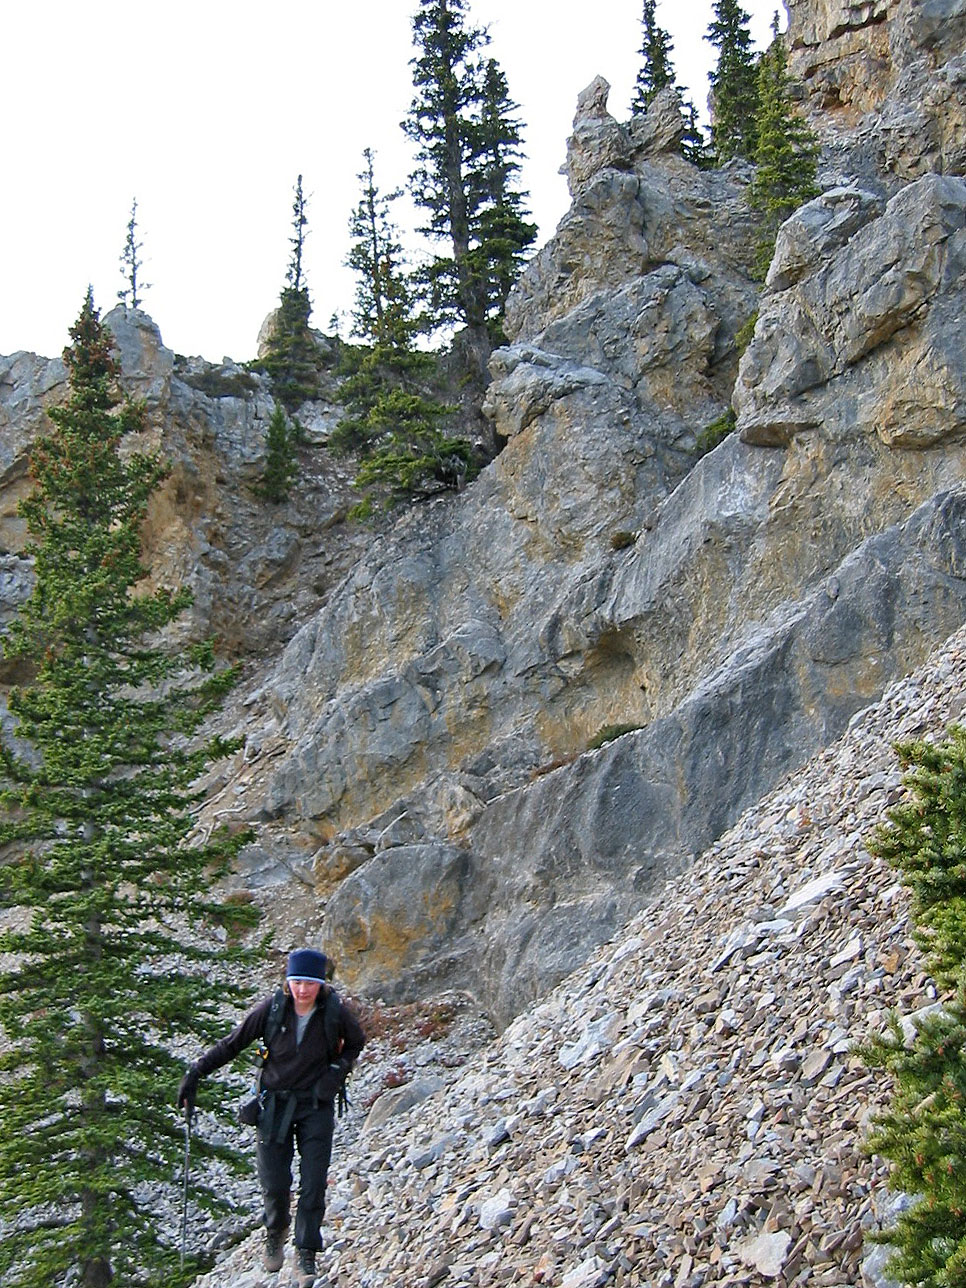
Back at the resting bench where the hiking trail ends. We scrambled up the slope
on the right, but on the return, we went around the west side (left in the photo).
82 J/10 Mount Rae